Germinating weed seeds is not rocket science. In this report you'll read how we germinate cannabis seeds with our germination kit. After germinating, we let them grow further in so-called sprout pads which you can buy at the garden center. Our sponge pots can be used in the same way as described here.
Preparation for the germination of weed seeds
We are going to germinate weed seeds with our germination kit. The only thing you need to do is put spring water in the tray with cotton wool. Use non-carbonated Spa water, for example. It is important to use spring water because it ensures the right pH and EC values. You don't need to remember this now, but take it from us. Get the cotton wool soaking wet, but do not fill the tray to the brim with water. That is not necessary. Our new germination tray is made from biodegradable materials and absorbs a little water. Place your tray on a plate and not on an untreated wooden table. By the way, you get a germination guarantee for free with the purchase of our private label cannabis seeds.
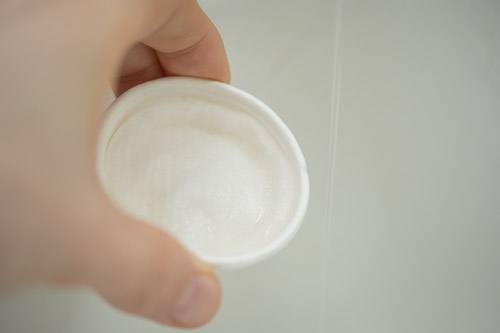
Step 1: Place 1 cotton wool pad in the tray and put spring water in the tray.
Step 2: Place the weed seeds on the first cotton wool pad. You can also put several seeds in the tray. About ten seeds will do just fine.

Step 3: Moisten the second cotton pad and cover the seeds.
Step 4: Close the tray. Put it in a warm but dark place. After all, seeds grow under the ground.

Germinating weed seeds = Waiting
Put the tray in a safe, warm and dark place. For example on the warm PC under your desk (not above a ventilator). Also think of places like on the TV receiver, at a safe distance under the stove. On the windowsill is not a good idea. There is also cold coming from the window, which is not good for your seeds. Wait and see, because at the earliest after 24 hours it makes sense to watch again. You are always early enough then and there is probably not much development yet.
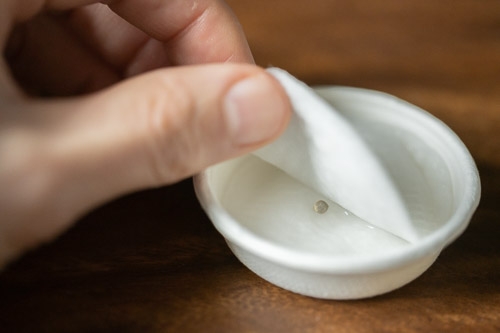
Step 5: In-between check. Especially when germinating several weed seeds at once, it is important to check on the progress of germination in between. Weed seeds are natural products, so they are not all equally fast. It's also worth checking whether the cotton wool is still wet enough. If you lift the top piece of cotton wool, you may well see a small puddle of water where your seeds are.
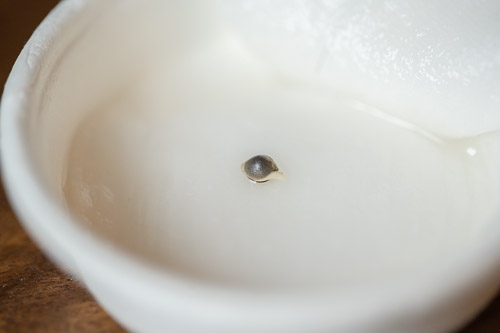
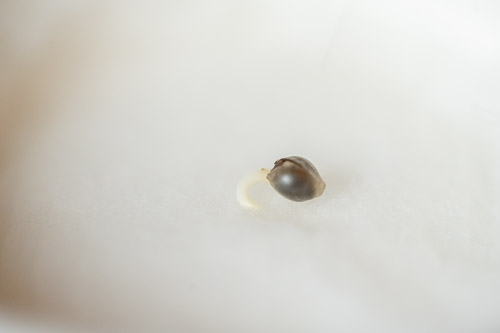
After 2 to 3 days, the first seed may be ready to be transferred. When a seed is ready for the next step in its life, you can tell by the length of the white fringe that grows from the seed. This is her first root. When this is half a centimeter to a centimeter long, she can go into the ground with the root pointing downwards. Or the sprout pads, as we show here.
Germinating Weed seeds is done!
Step 6: Transferring seeds. On the third day, it is time to prepare the sprout pads for transfer. The first weed seed has developed a beautiful curly root.
Place as many sprout pads or sponge pots on a plate as there are cannabis seeds ready to be planted. Pour a little spring water on the plate. With a little patience they will fill up and expand. Make a hole about 1 cm deep in the sprout pad with a stick.

With a pair of tweezers it is easier to place your weed seeds in the sprout pads. Note: the root has to point downwards. If your seed has a curl, then look at which side the root comes out of the seed. That side you place downwards. Then cover the sprout pads lightly with loose soil. Are you using our sponge pots? Then put the weed seeds between the material so that they are just a little bit covered.

Sow the weed seed in the sprout pad or sponge pot. The root should point downwards.

Growing a weed plant
Step 7: Taking care of a weed plant. Now it's a matter of making sure that your developing weed plant has enough water. The coconut fibre in the sprout pads has a tendency to dry out fairly quickly. Especially on the windowsill and above the radiator. When you see that there's no more water left on the pad you can pour some spring water on it again. Just as before, the pads will fill up and provide your root with the right amount of water. Don't get the sprout pads soaking wet, because then mould is likely to develop. A few days after the transfer, the first leaves will appear.

The first leaves may be quite unrecognizable. In any case, you will not recognize a weed leaf in them. After the first two lobed leaves, a few days later the first jagged leaves will appear. Take a look:

When you then see a root come through at the bottom, it is time to transfer the young seedlings to a larger pot. You could already put them in the pot you use in your grow room, but they are not yet strong enough to go outside.

Pre-growing weed plants
Step 8: From seedling to the growing phase. Now that your young weed plants are in the soil, the growth to adulthood can begin. It is important not to give any plant nutrition at this stage. Do not give growth nutrients until your weed has developed at least 2 to 3 nodes (branches).
Would you like guidance in the next step of growing weed after germinating your weed seeds? No problem at all! Choose between indoor and outdoor growing and we will be happy to help you!