Do you have trouble germinating cannabis seeds or do you have doubts about sowing germinated seeds? Let the Spongepot help you. With this handy tray full of cutting soil and bacto micro-organisms you can germinate up to 20 seeds at the same time. Follow the instructions from this blog and after a maximum of a week you will have beautiful cuttings.
How The Spongepot Works
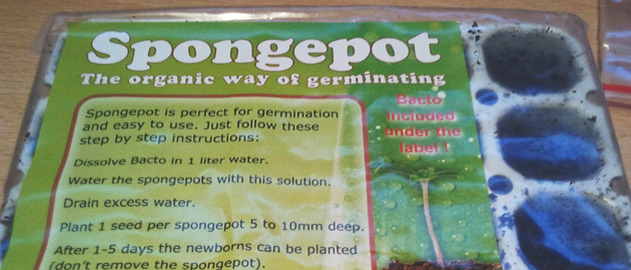
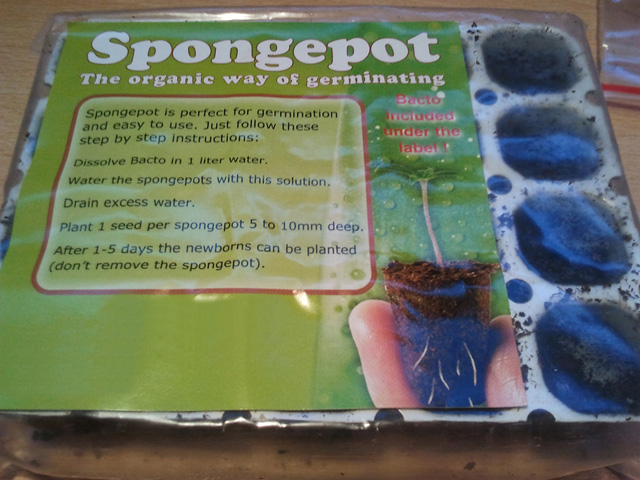
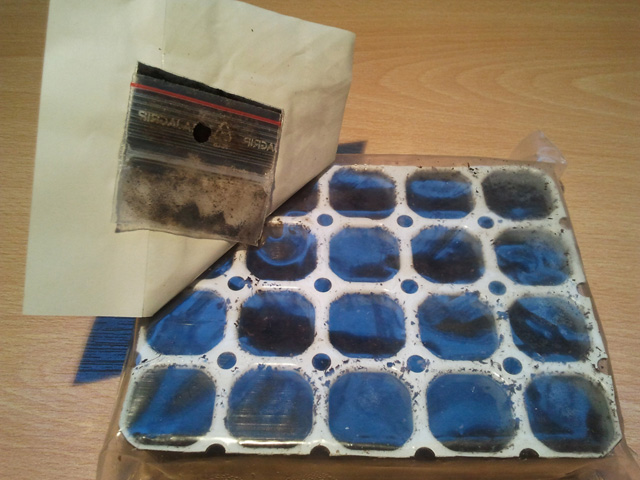
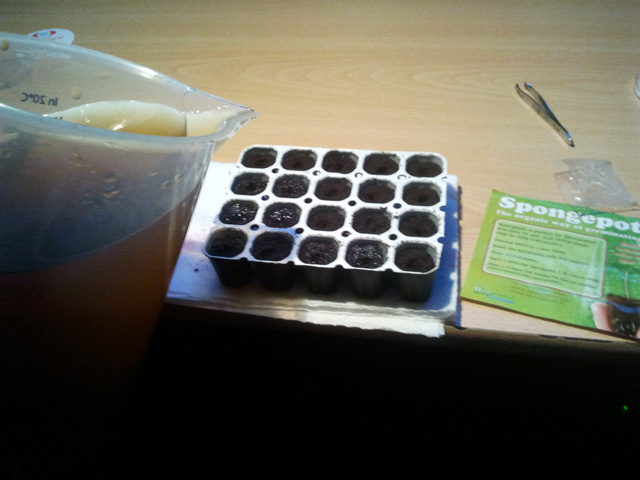
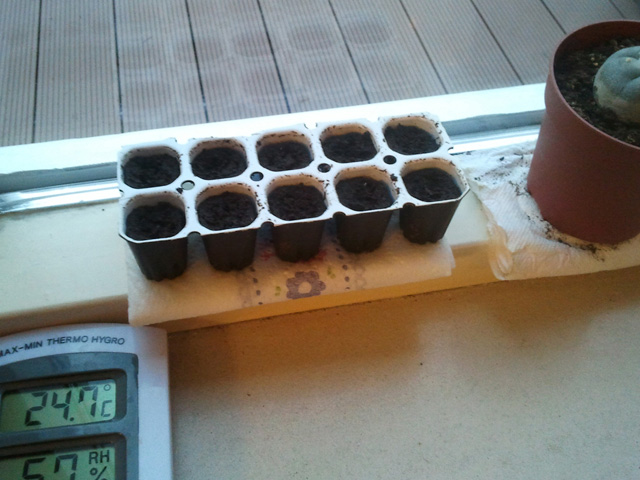
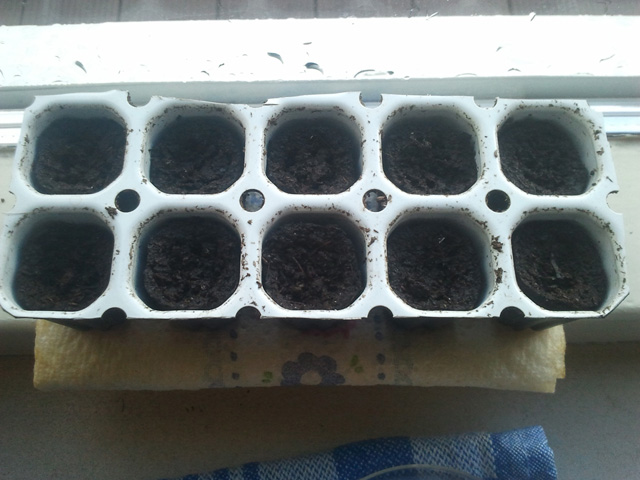
Germinate with the Spongepot method. The Spongepot is a biological germinating medium. It contains 20 small pots and some bacto microorganisms. Below you can see the photo of the Spingepot. The instructions are stated on the label on the Spongepot packaging. You can now prepare the Spongepot and fill it with the marijuana seeds. Below are the steps you can follow to successfully prepare and use the Spongepot:
1. The bag with the bacto micro-organisms is hidden under the label.
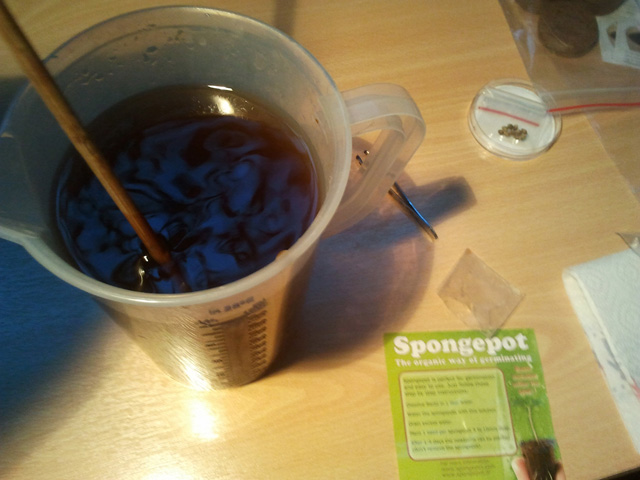
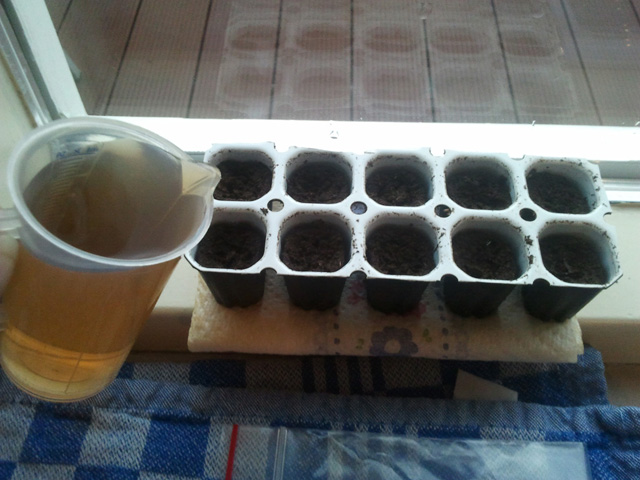
2. Mix approximately 1 liter of (spring) water with the supplied bacto micro-organisms. The ideal temperature of the water is about 25 °C.

3. You must then stir the bacto microorganisms a little.
4. Moisten the spongepots with the prepared liquid. Let the tray drain well. Save the remaining liquid to make the spongepot moist again later or simply to use with the potted small cuttings.
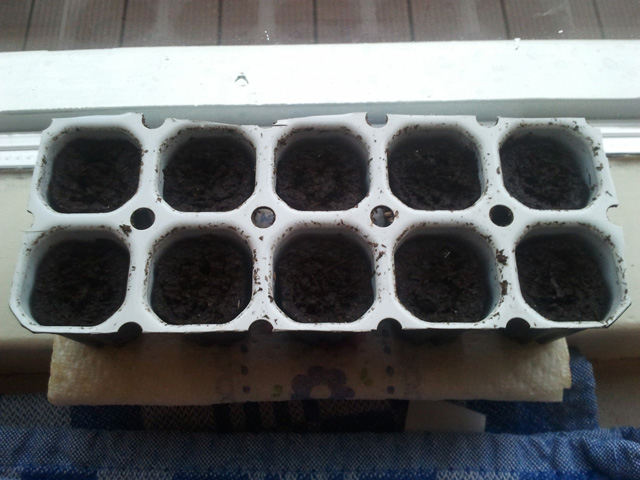
5. Make holes of approximately 5 to 10 mm in the spongepots.
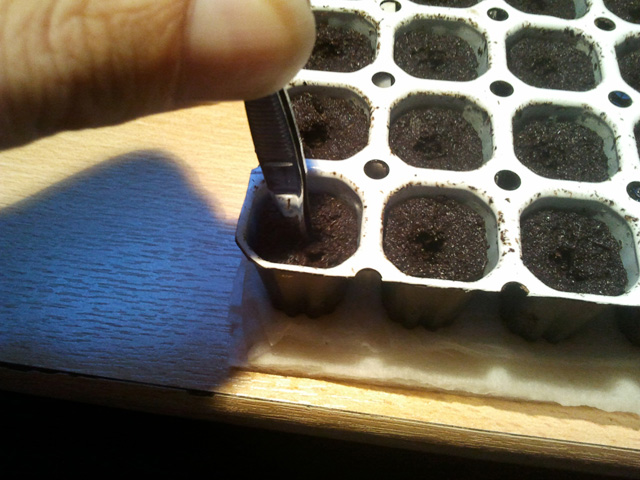
6. Plant the marijuana seeds immediately after you have made the holes.
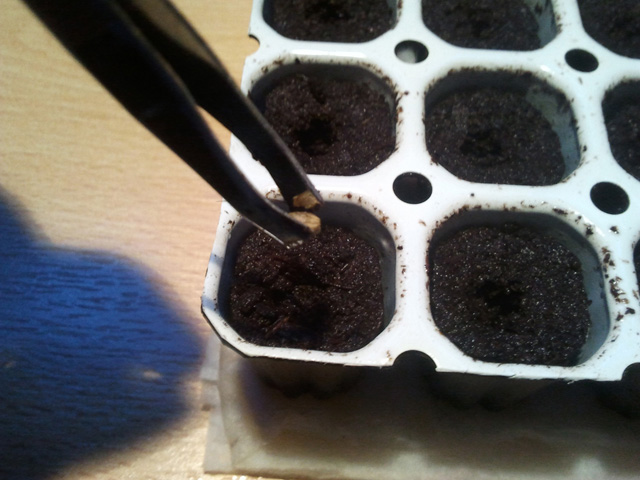
7. Cover the holes with the weed seeds again lightly with the medium.
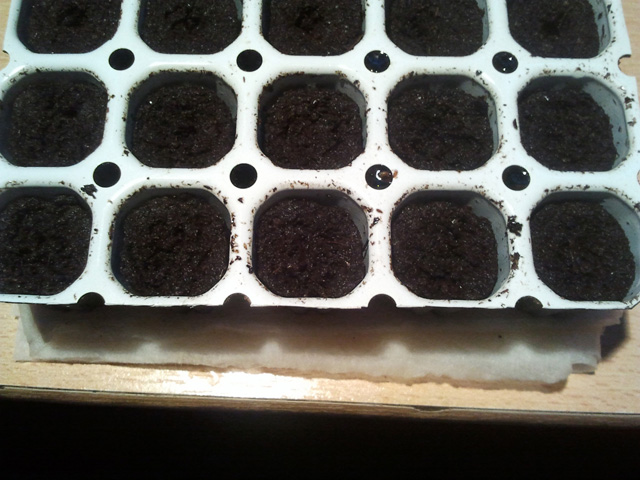
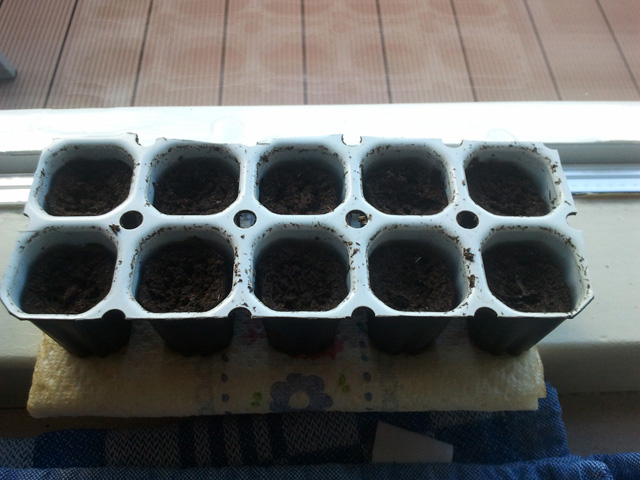
8. Place the spongepot with the ten trays in a nice warm place and then wait. The more humid and warmer the better.
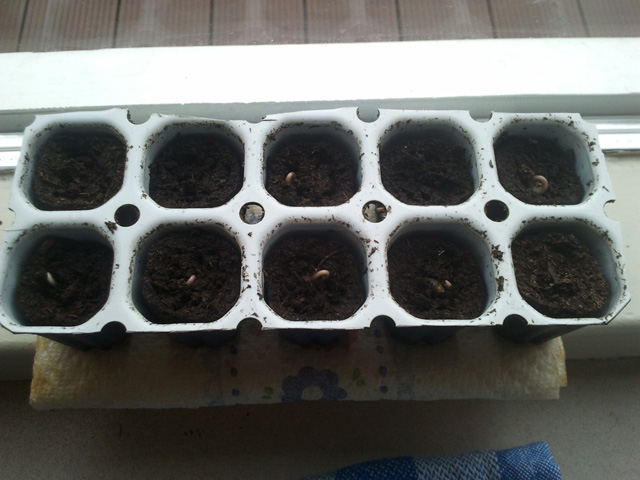
9. After 24 hours carefully moisten the Sponge jars again with the previously prepared liquid with bacto micro-organisms. We advise you to do this with a measuring cup of 50 ml; this one looks larger in the photo than it actually is.
10. At the Spongepot there is logically nothing to be seen after approximately 24 hours. But patience is a good thing.
11. The morning of day three: approximately 38 hours after the start. The Spongepot is busy, but it is not yet visible. Let the Sponepot go its own way and do nothing with it.
12. The morning of day four: They are starting to get through slowly! There are no complete cuttings of the weed seeds to be seen at the Spongepot. But wait patiently; they are coming! However, you can make them moist again with some liquid with bacto micro-organisms.
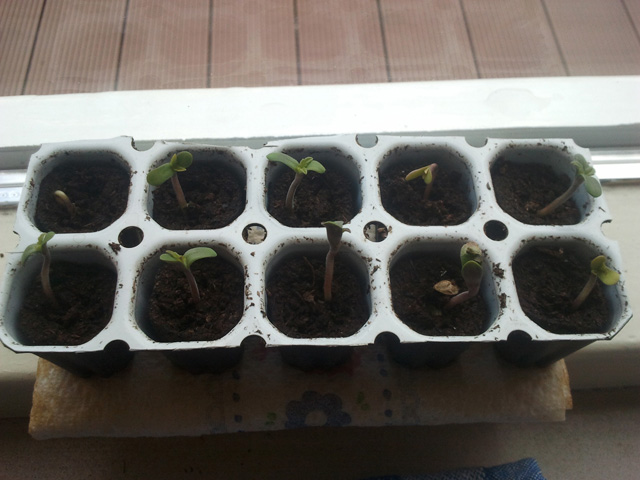
13. The morning of day six: all weed seeds in the Spongepot have come true. Of course six spots had already been spotted yesterday, but the remaining four have also been released. We owe this to the Spongepot germination method. You can clearly see that the cuttings look healthy.
14. The use of the Spongepot method has ensured good results can be concluded. In general, the use of the Spongepot method is more work at the beginning, as can be seen from the number of steps described above. However, this work is completely worth it. The cuttings in the Spongepot are growing well and are starting to get a bit longer (although this is a bit worse on the photo). They are ready to be transferred to a larger pot.
The cuttings themselves grow towards the light (they are now just turned over for the photo). It is also important that you pay attention when the cuttings have to be repotted and put under the lamp. It may be that they will stretch too early.
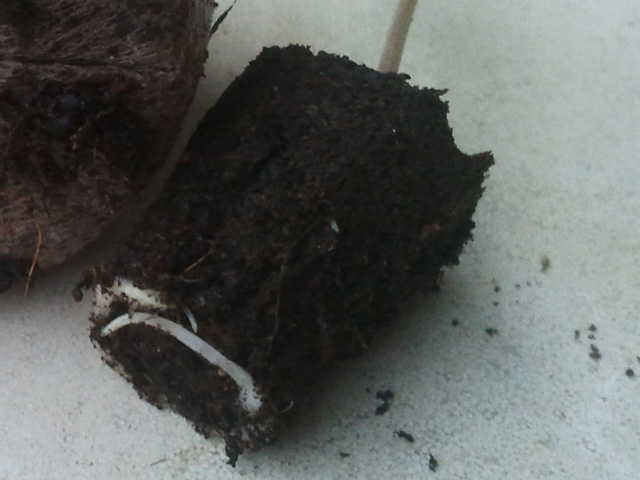
15. The cuttings have developed a good, large and beautiful root. Based on this, you can be confident that the buds will become beautiful plants and give a good yield.
Buy Spongepot?
The Spongepot method is very effective. Do you also want to start planting your cannabis seeds quickly and easily? Click here to order this handy Spongepot. If you have any questions about the sponge pot, our customer service is always there for you.